The Barnwood Table




















125 Years never looked so good
What is it?
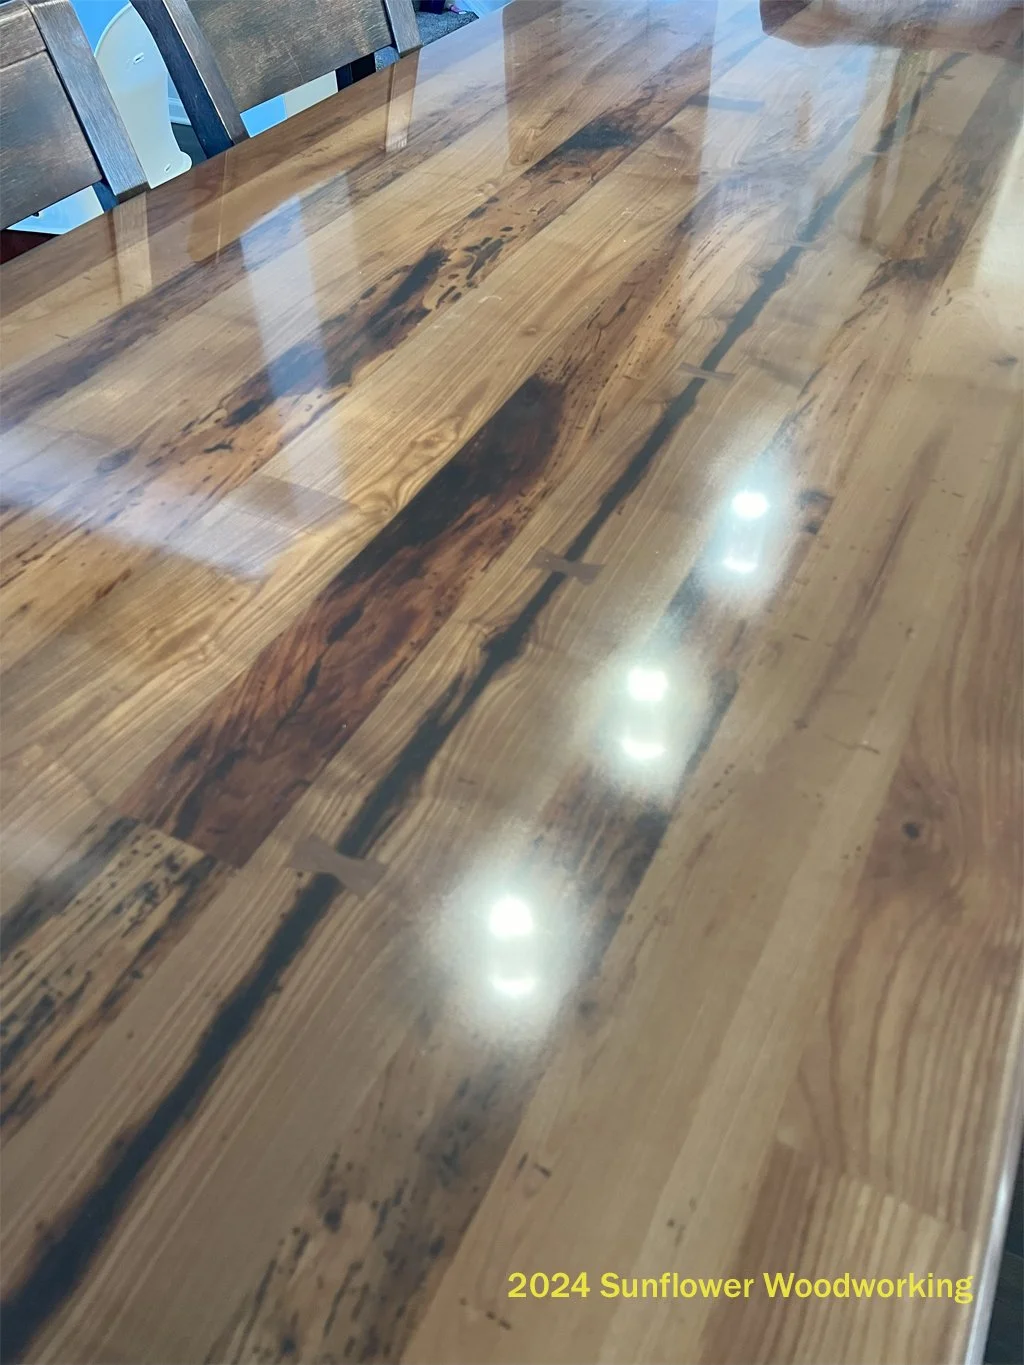
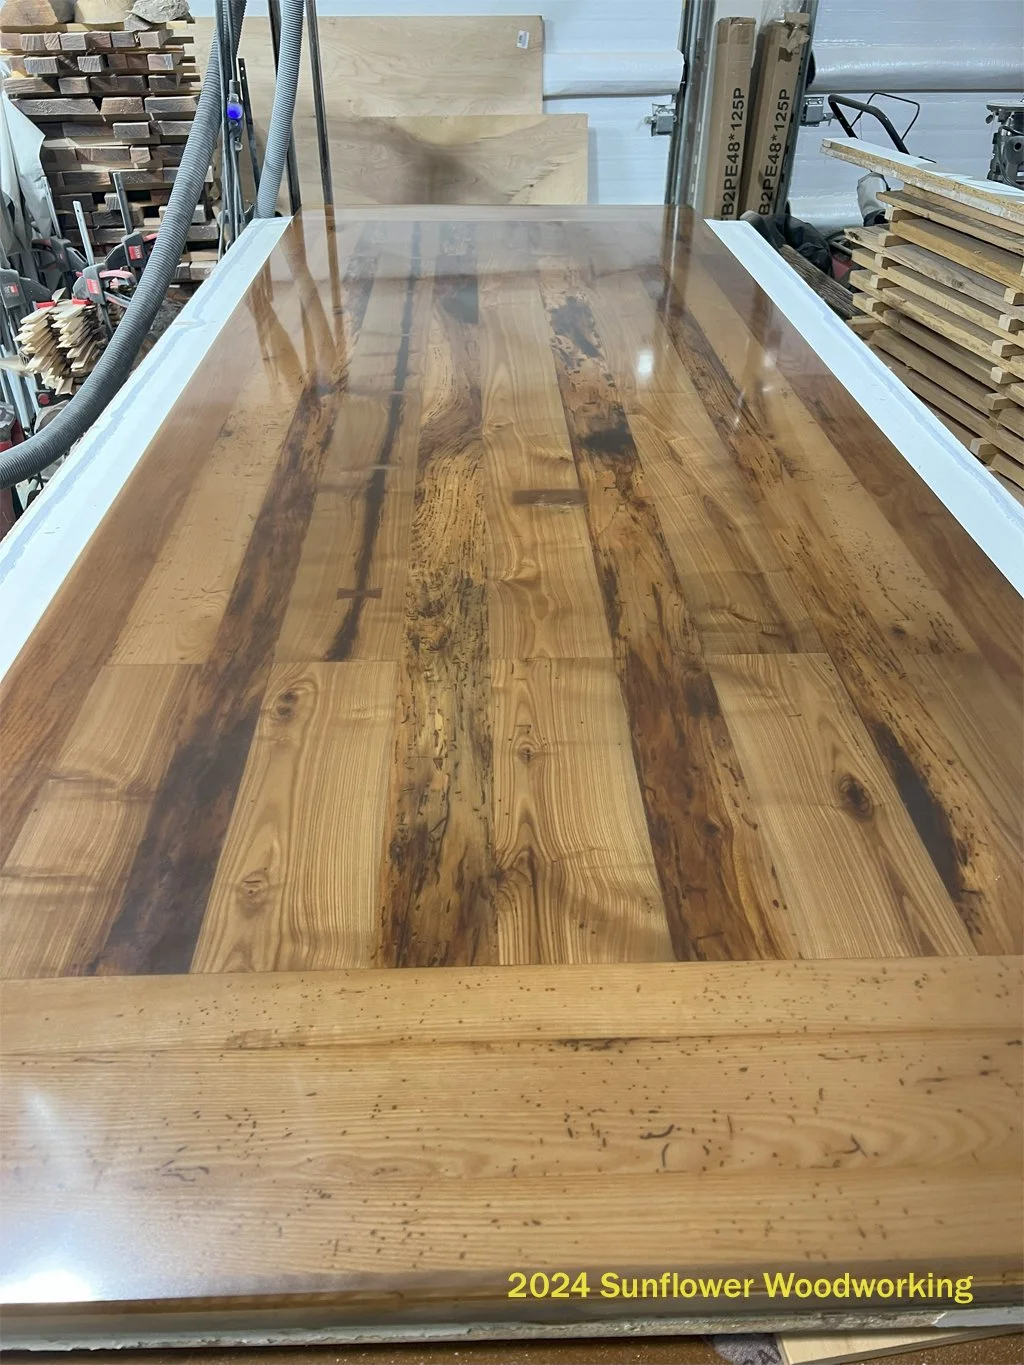
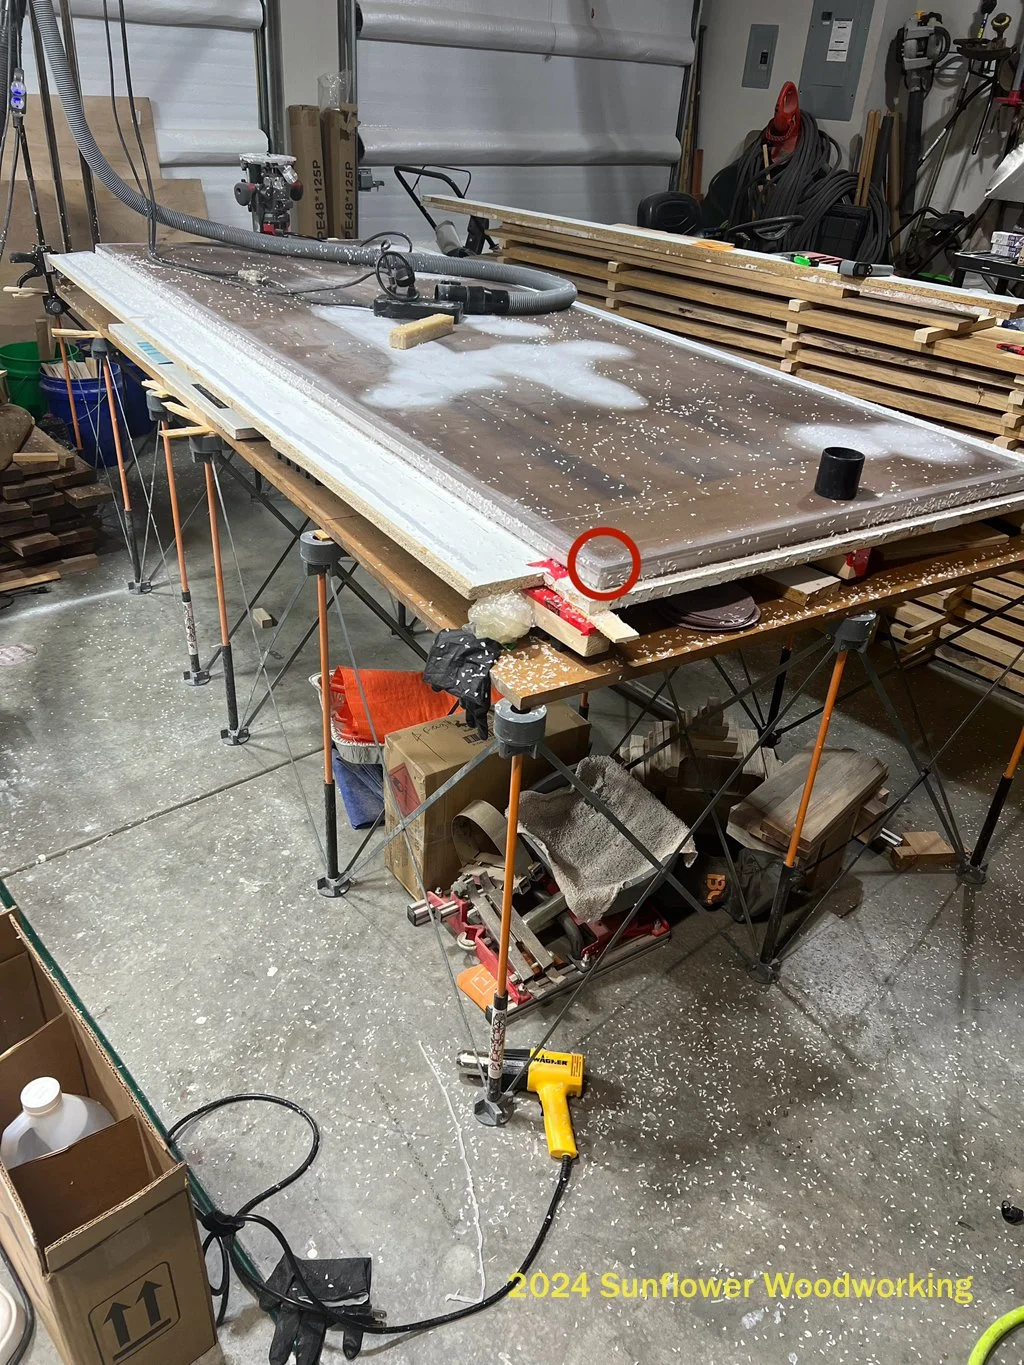
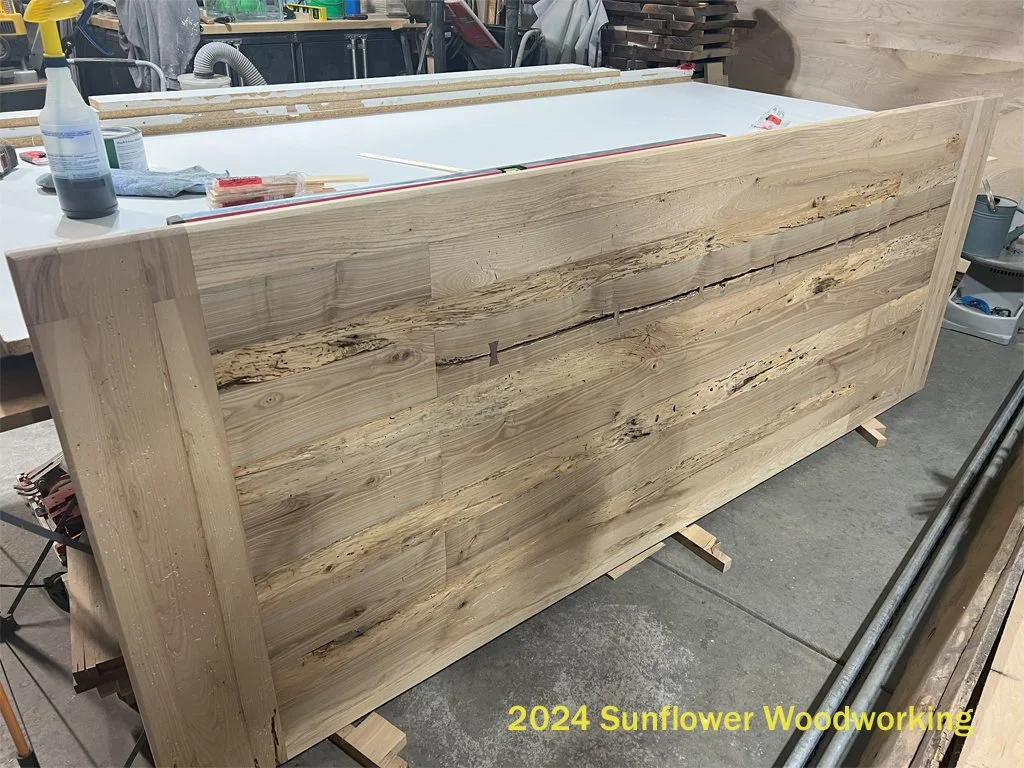
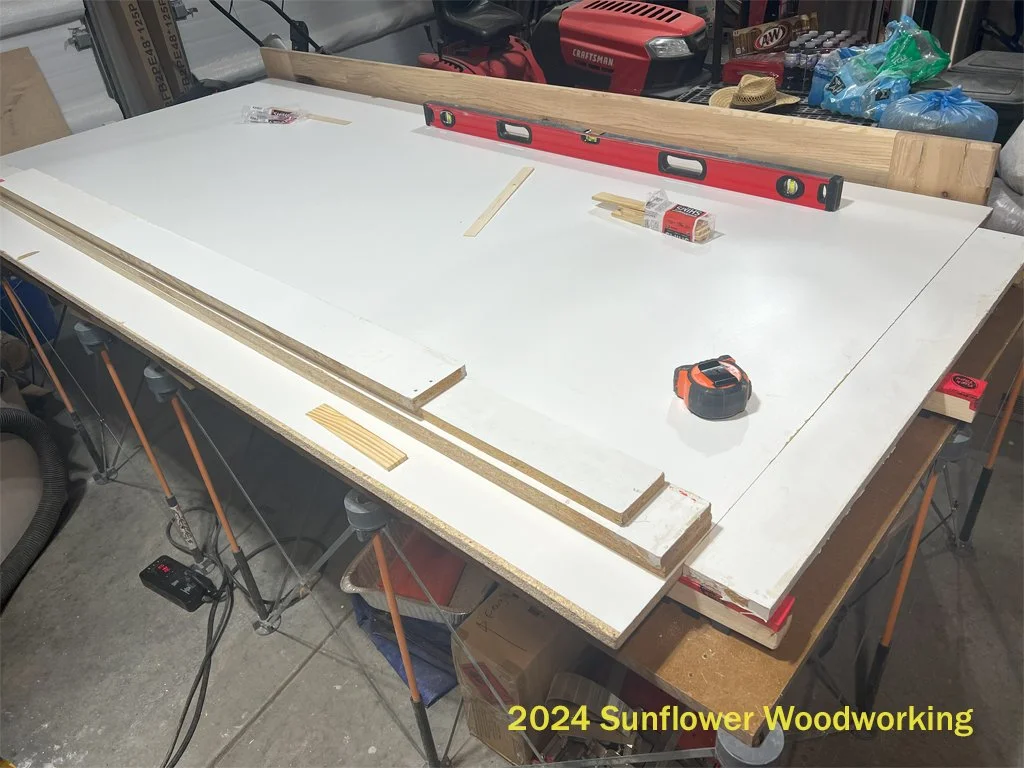
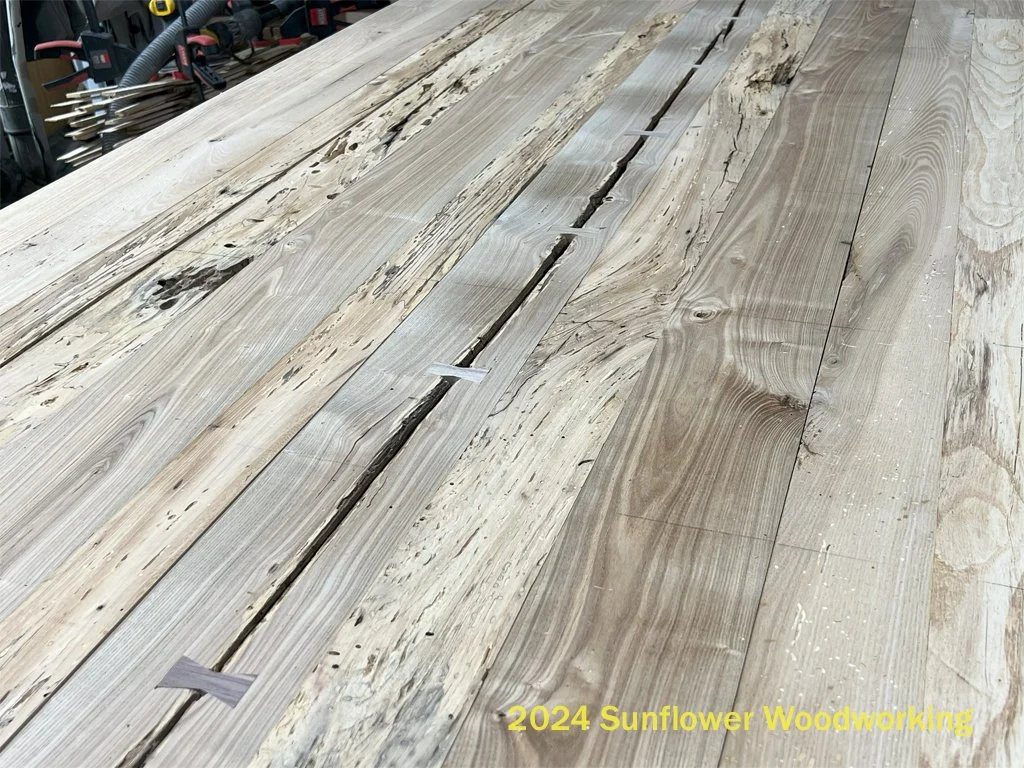
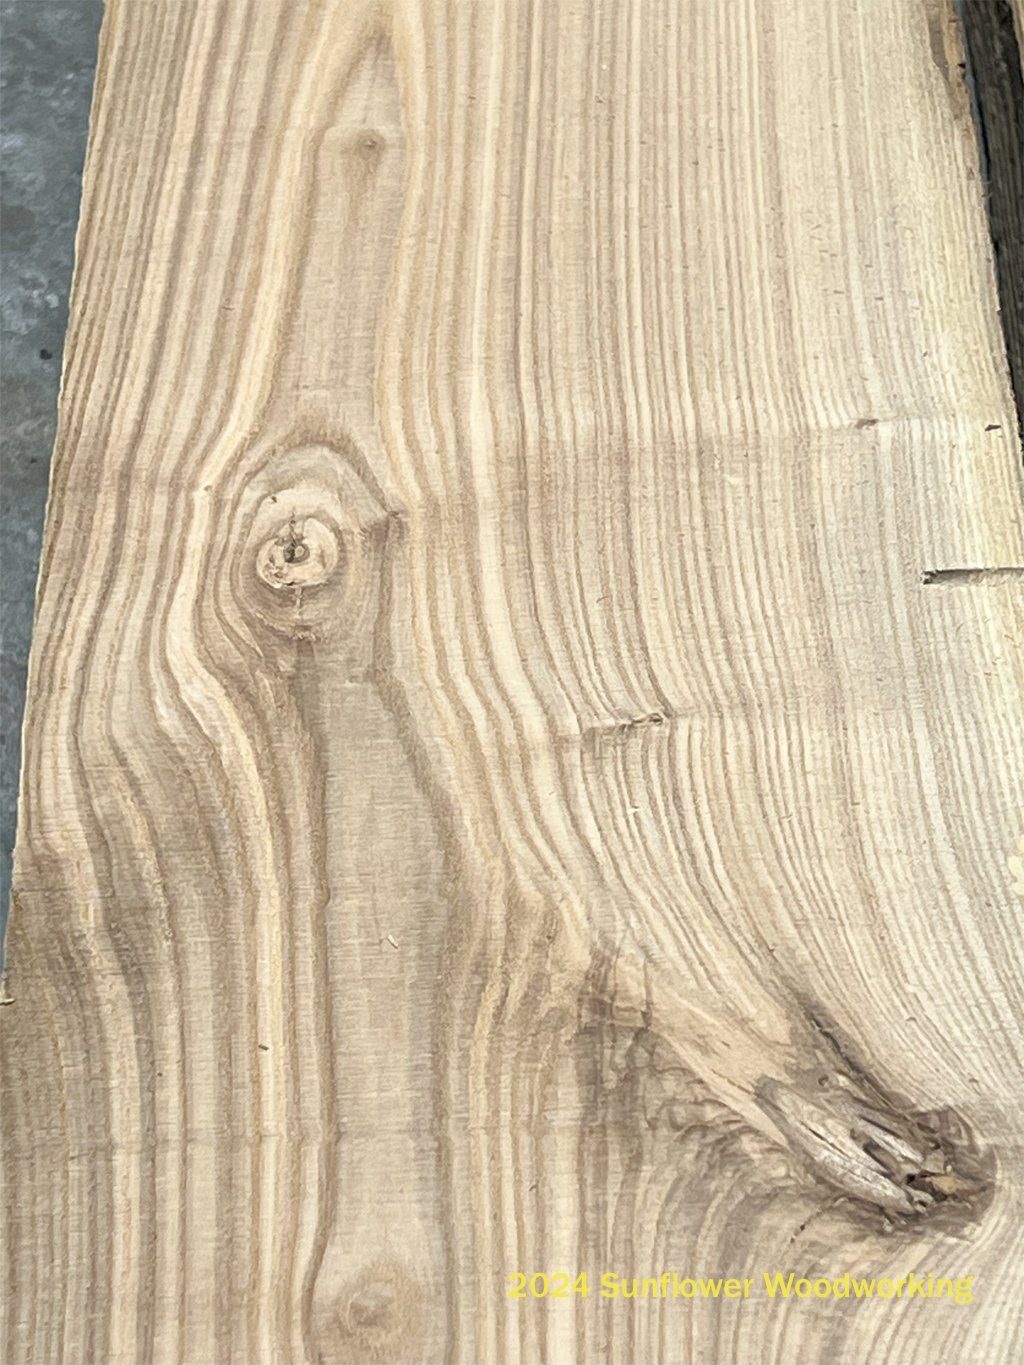
This is Ash lumber that was salvaged from structural beams in a collapsed, 125 year old barn. We harvested this wood seven years ago. While we used the rest of the wood in other projects, we just now found a great purpose for these beams. We made a breakfast nook table top to replace the commercially-purchased table made from wood-like material. The legs were thick and strong, so we kept those to prop up the new top. We used epoxy to provide a nice surface while giving strength. With some bow ties and a little bit of universal dye, we felt like we had a great symphony, spalting, rot, wormholes, and all!
Some will look at wood with these defects as things to be removed from wood before using it for a project. We felt that those scars were earned over more than a century and we wanted that story to carry through in this project.
What did we learn?
A lot needed to be done to prepare this wood. We wanted to keep as much of the blemish as we could while ensuring strength and durability. Epoxy can bridge some of these gaps while providing beauty to the finished product.
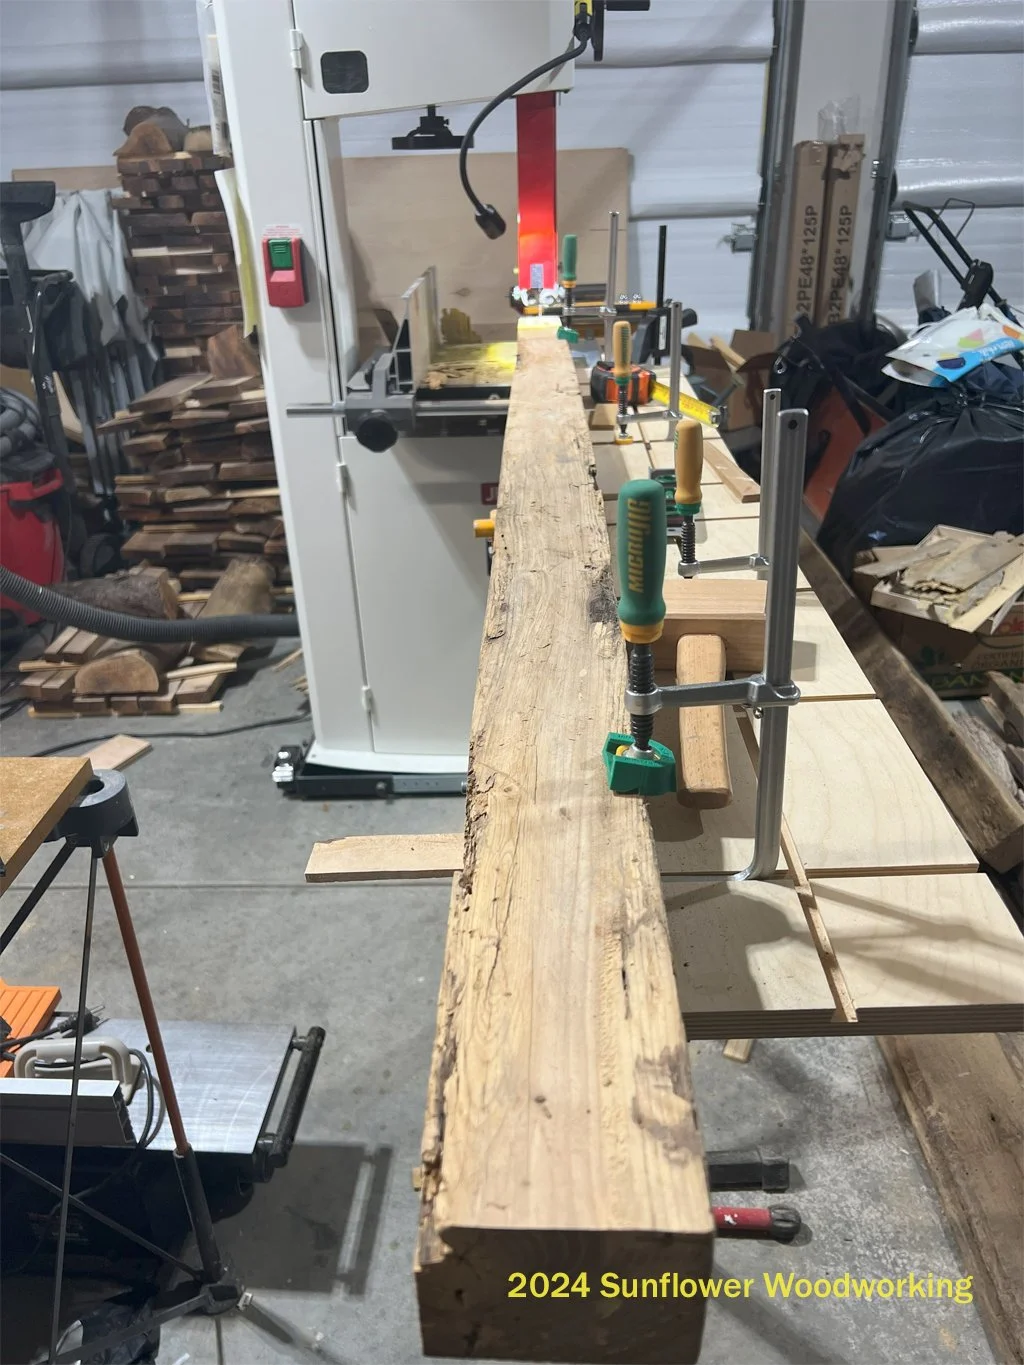
We built a sled for the bandsaw which helped support the weight of the beams while keeping the cuts straight and true. The sled also allowed us to compensate for warping and twisting that happened in the beams over their years of service to end up with straight, flat boards. The beams were 12’ (~4m) long and we cut them down to 6’ (~2m) before milling.
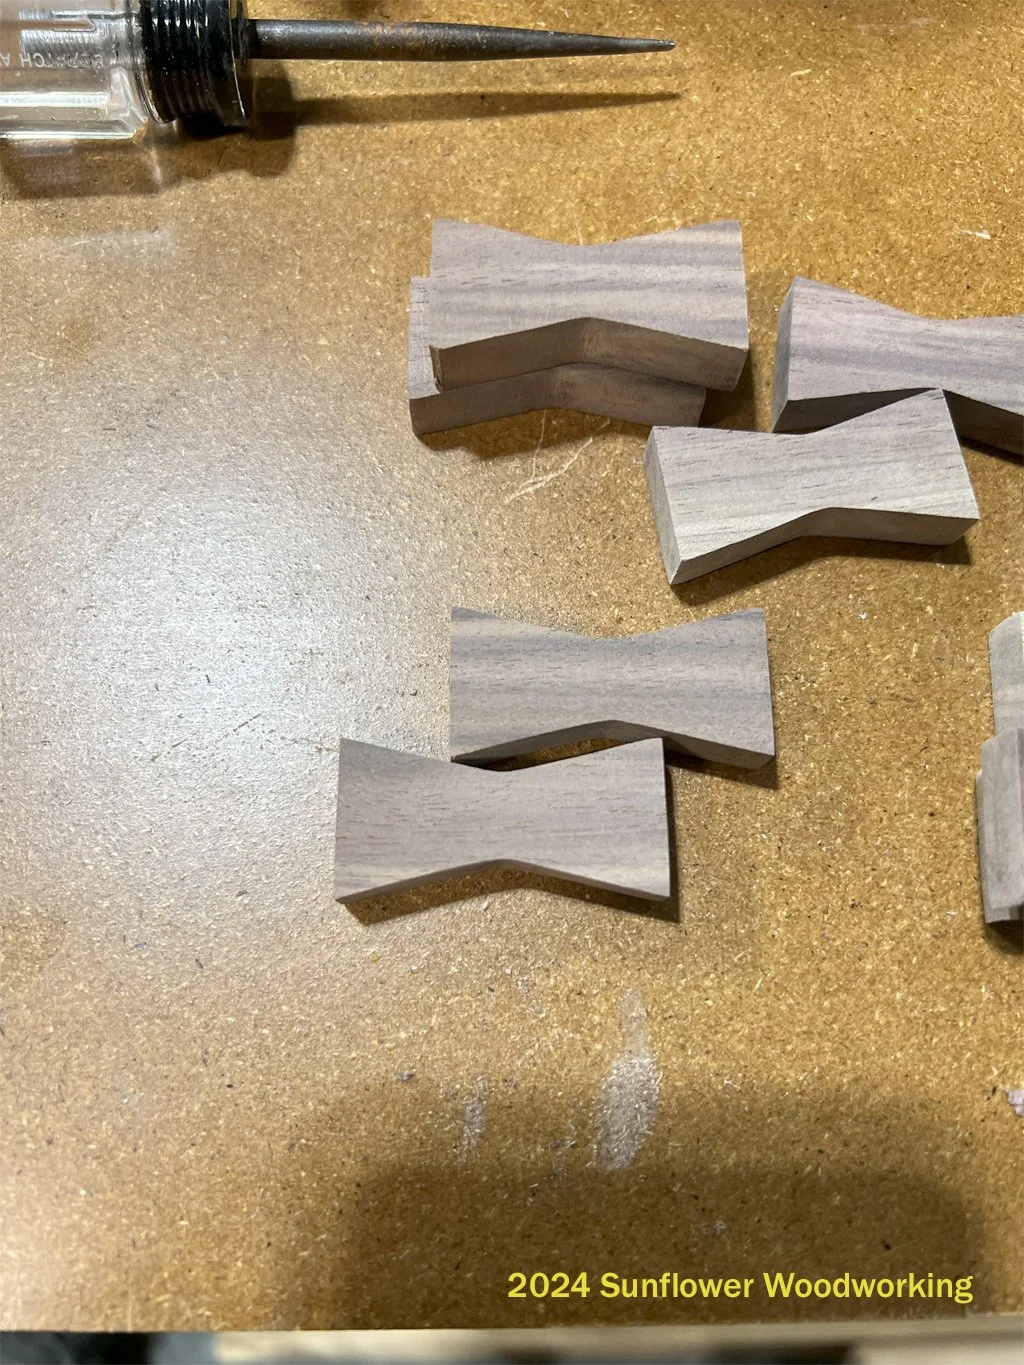
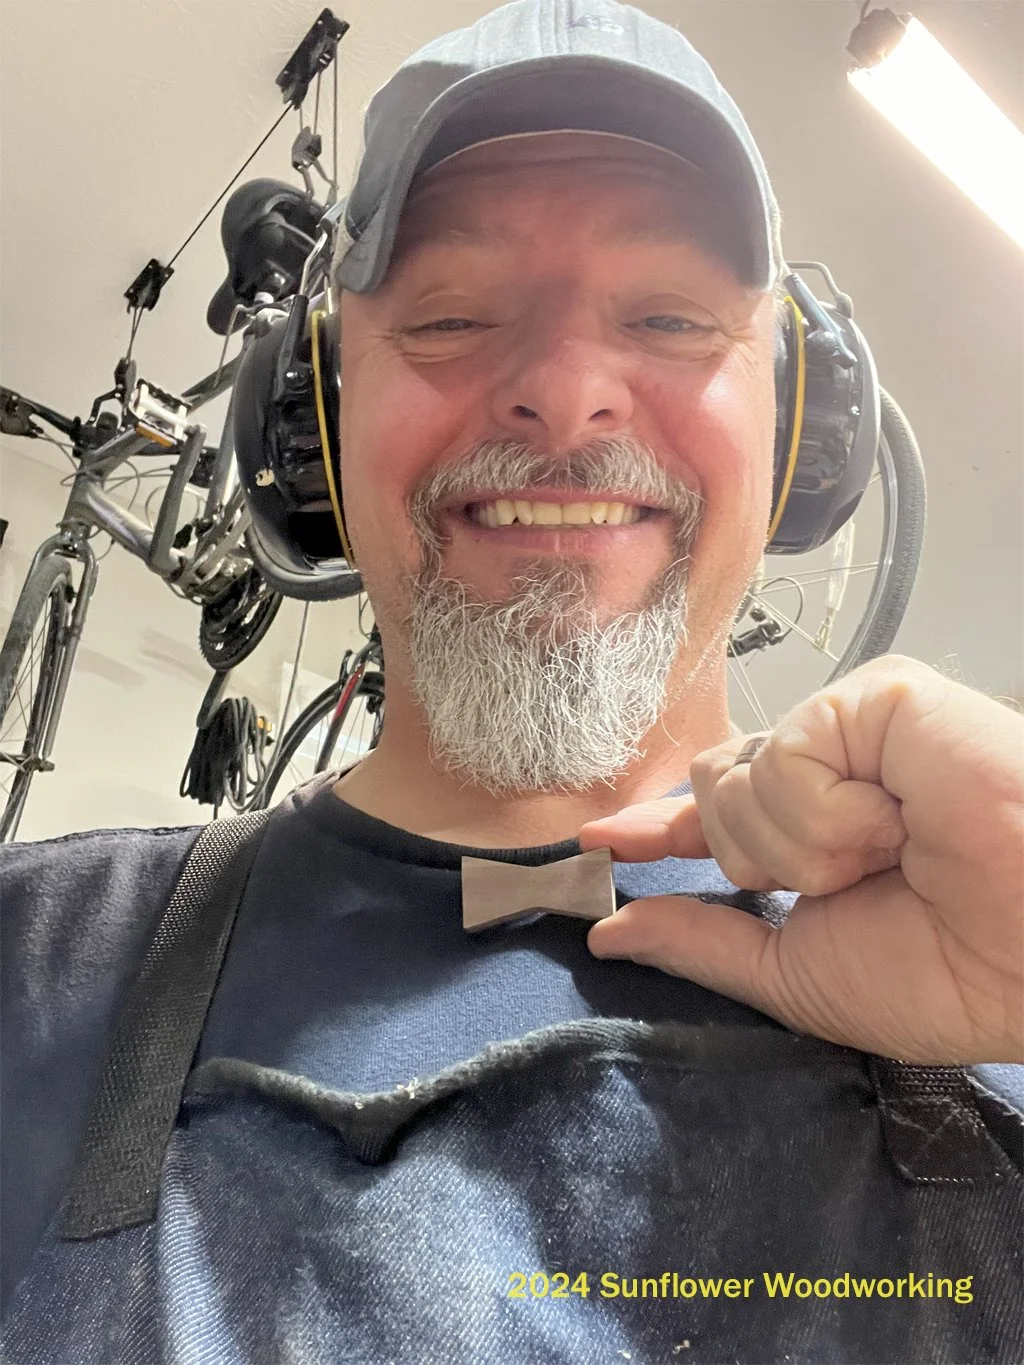
This was the first project we used bowties. Aside from giving Mr. Woodworking a new toy with which to play, bowties provide strength and beauty to a project. The Black Walnut bowties were used over splits in the timbers to prevent further splitting of the wood as weight and stresses pull at the wood. For the largest splits, we put the bowties on the top and bottom of the sled, alternating their locations, to provide more strength.
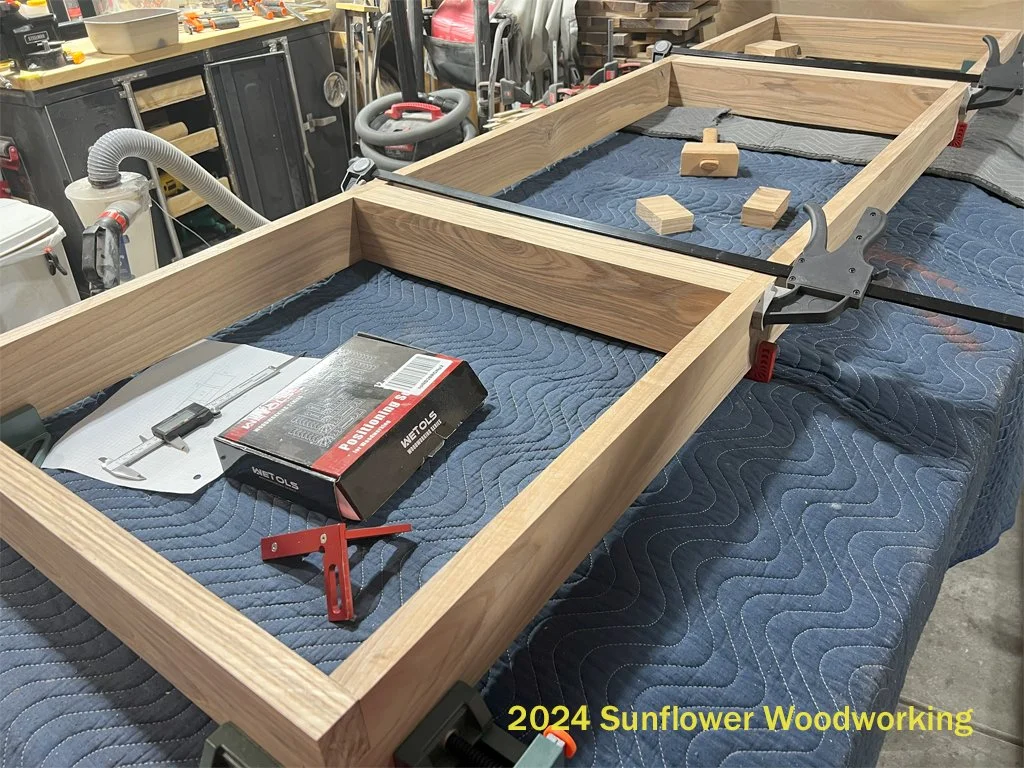
Although the wood is complete encapsulated in epoxy and won’t be affected by environmental moisture like fully exposed wood…well…would, we still mounted the breadboard ends as if there would be wood movement. We used homemade dominos (wide dowels) and used a router bit to create the mortises. The center dominoes were glued in place and the rest of them are floating. Even before the epoxy pour, the table ends were very strong.
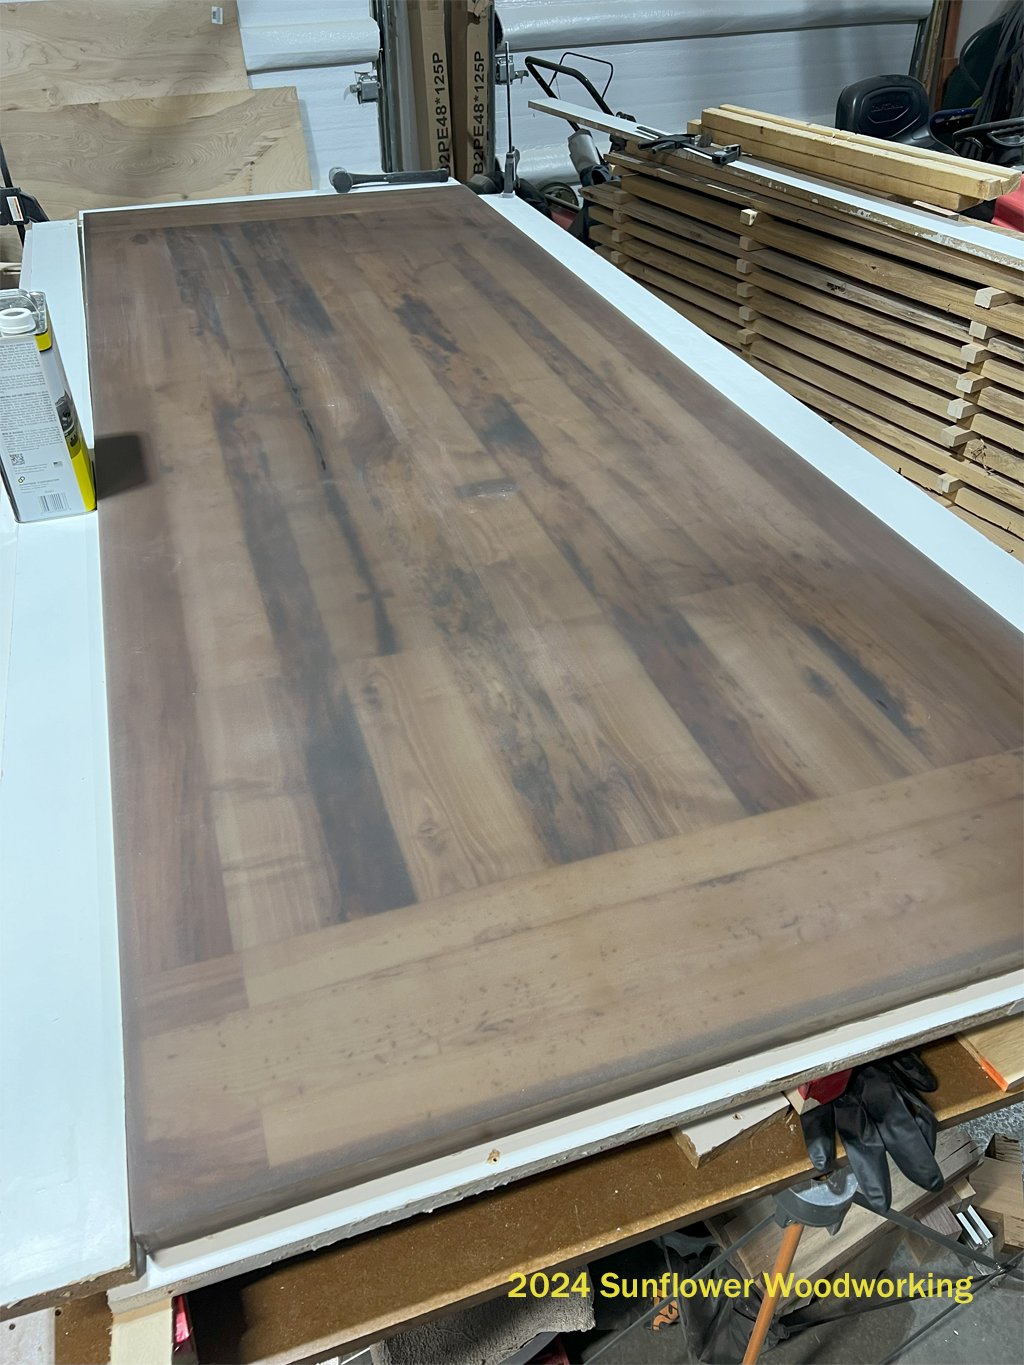
The other thing we tried was adding universal dye to the epoxy. While not in direct sunlight, the table will be in a room that receives a lot of indirect sunlight. Epoxy yellows over time, and that is accelerated with sunlight. The dye will help keep the color a little more controlled. The dye also absorbed into the wood during the curing process and pronounced the defects in the wood, adding more character.
Finally, a hard lesson learned is about changing materials midstream in a project. We miscalculated the amount of epoxy needed for the overall pour. We had 24-48 hours to get more epoxy and the brand we typically use could get to us in 72 hours with rush shipping. So we settled for a different brand that had a decent reputation and could be there at 7AM the next day. So we took a chance. It failed. Even with thorough mixing and degassing like we always do, the epoxy cured foggy. Six months later, there is now surface deformation as well. We will need to mill off about 1/4” (about 6mm) of epoxy off the surface, sand, and repour the top surface in the near future.
In Closing…
This wood came to us through a friend of a friend. We tried to use it in other projects, but it never worked out for one reason or another. We accepted that and just tried to keep it dry and safe until the Lord showed us what the purpose of this wood was. And we are so glad He did!
