The Puzzling End Tables
Letting the grain solve it
What is it?
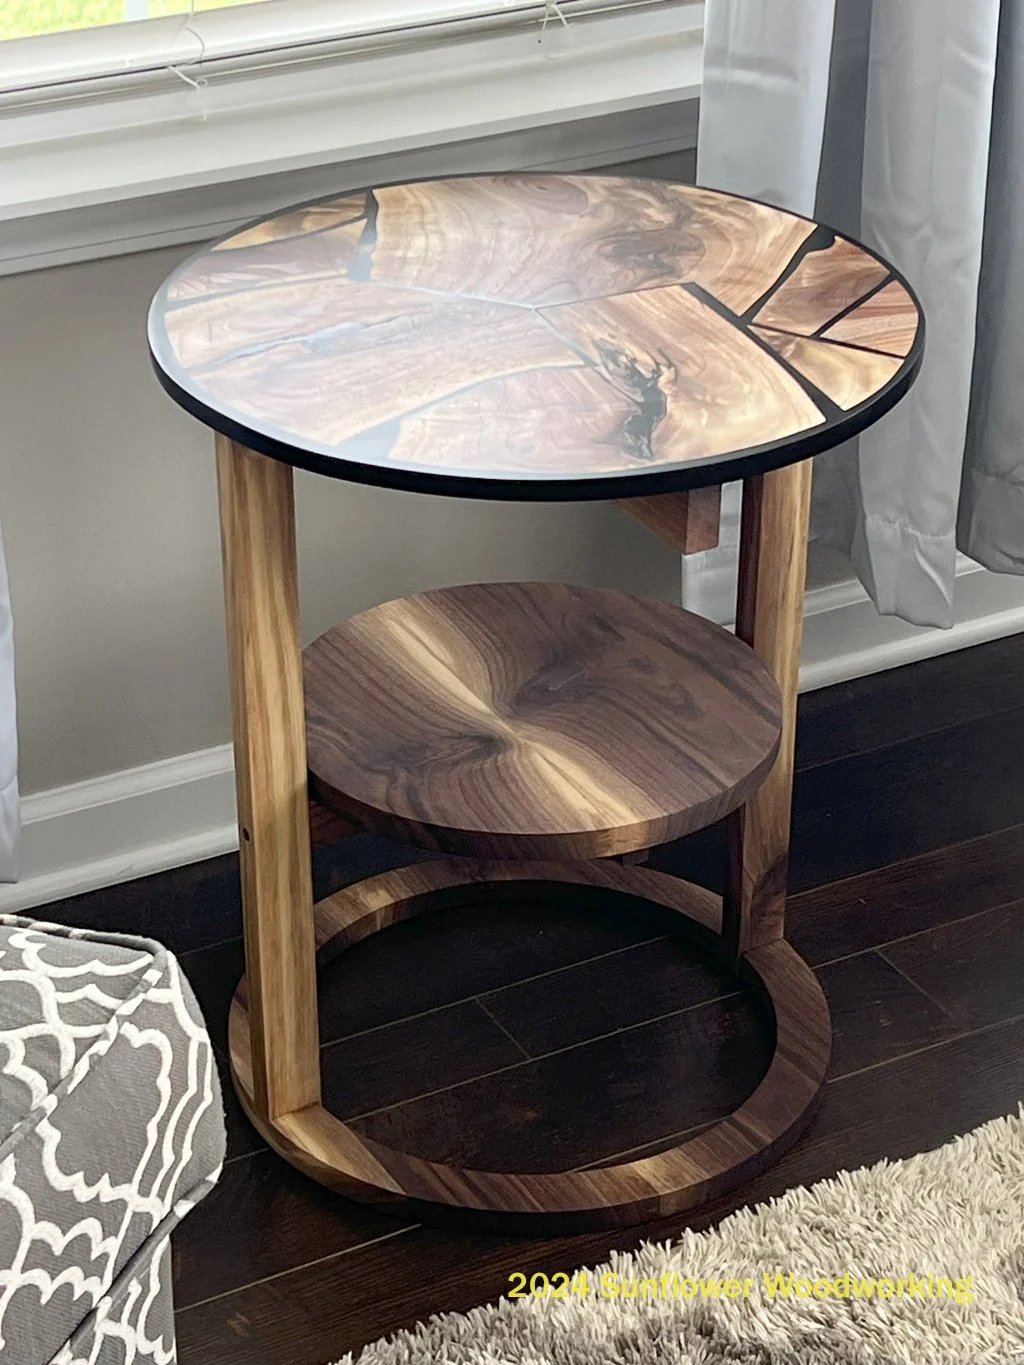
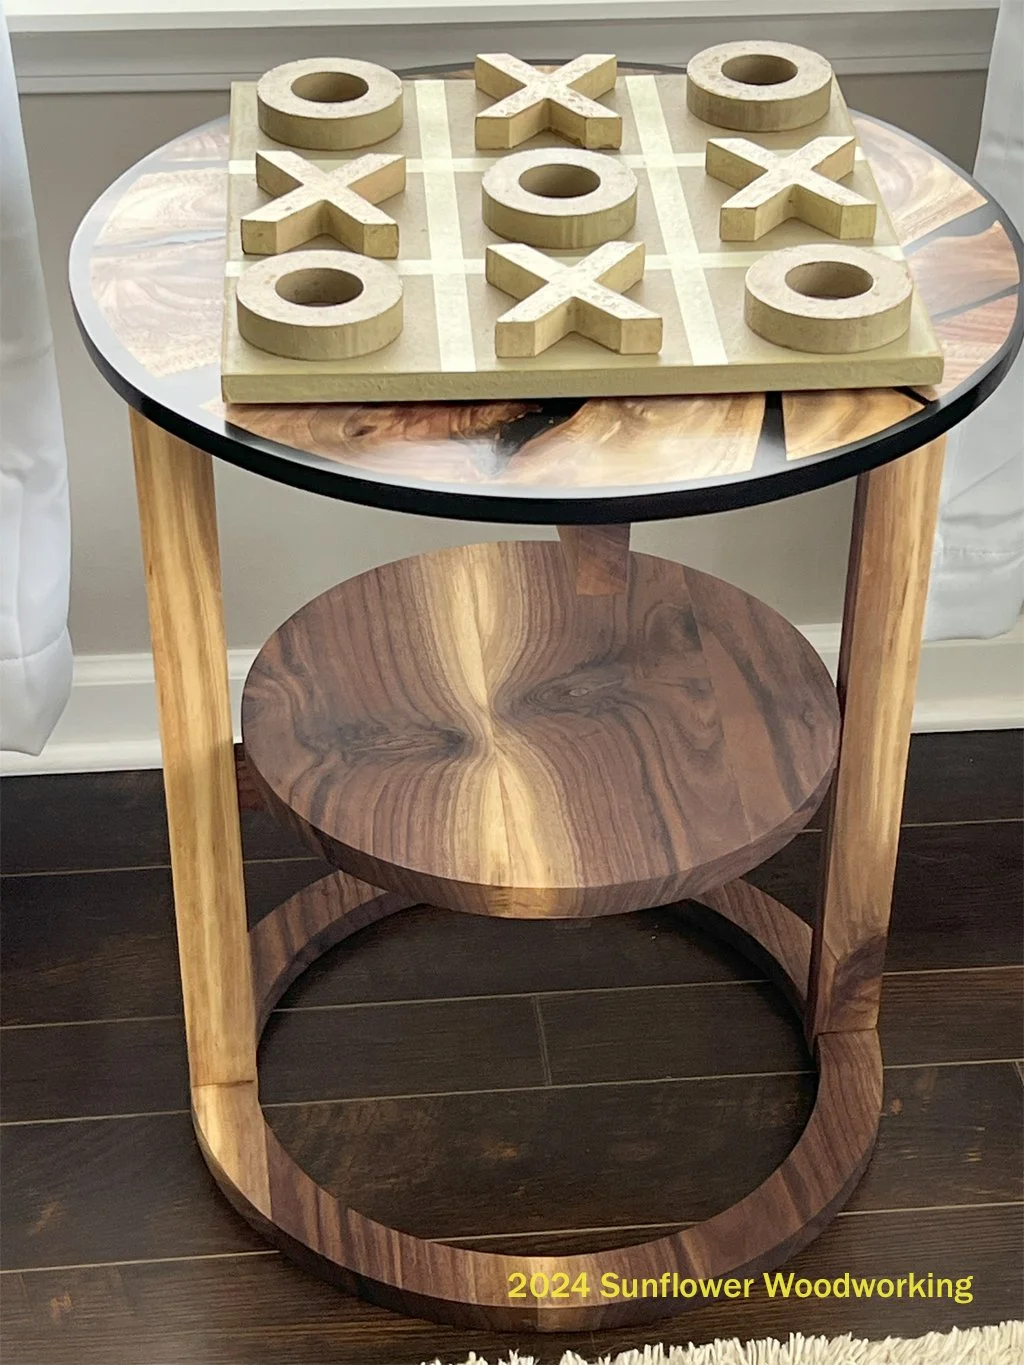
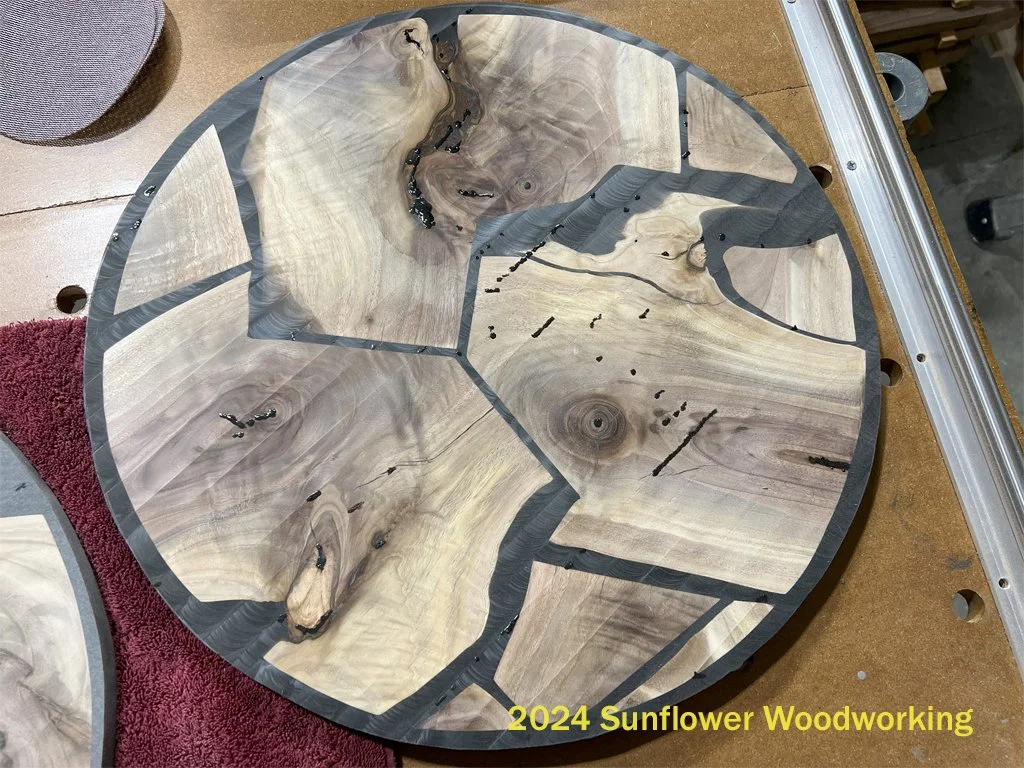
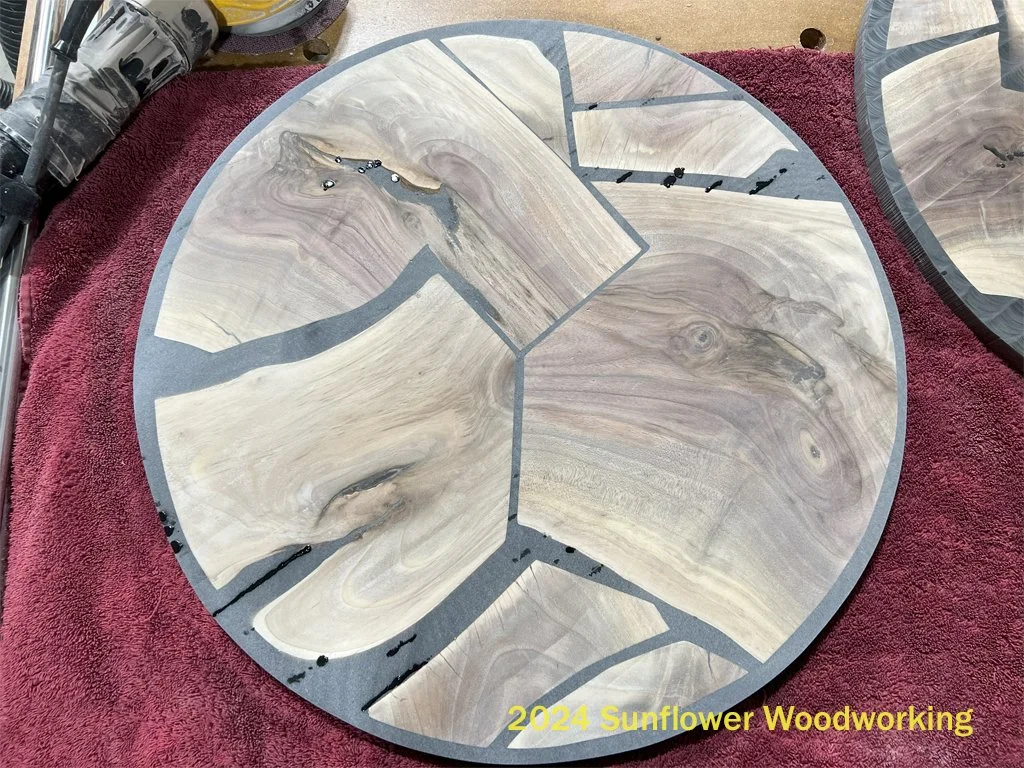
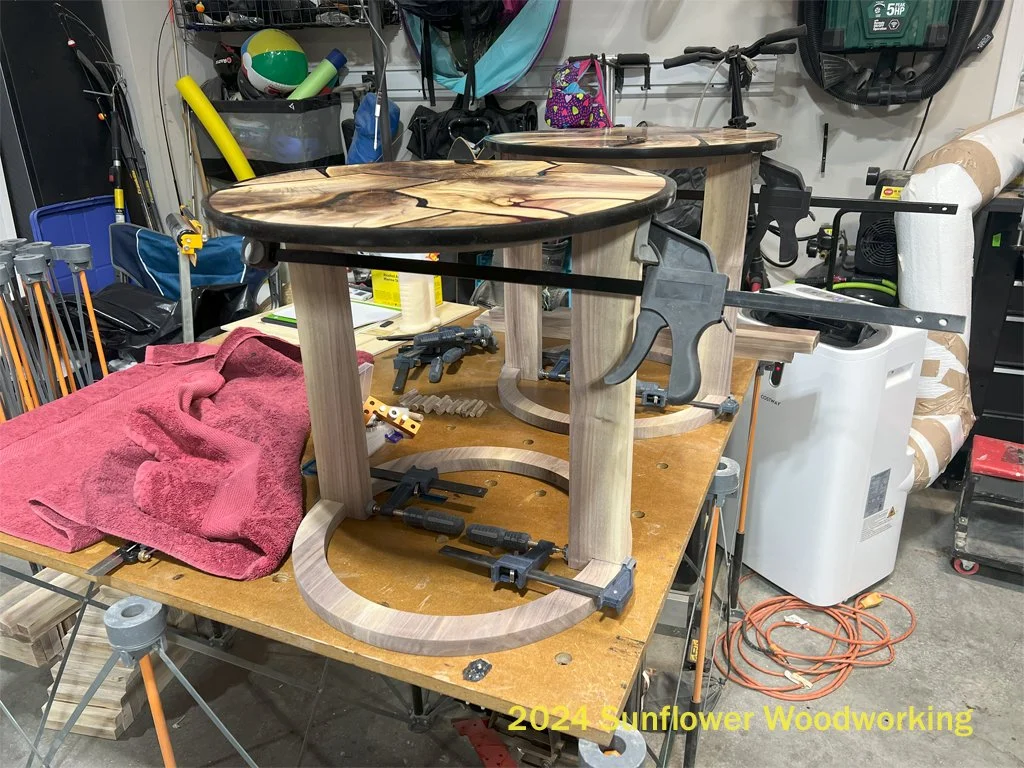
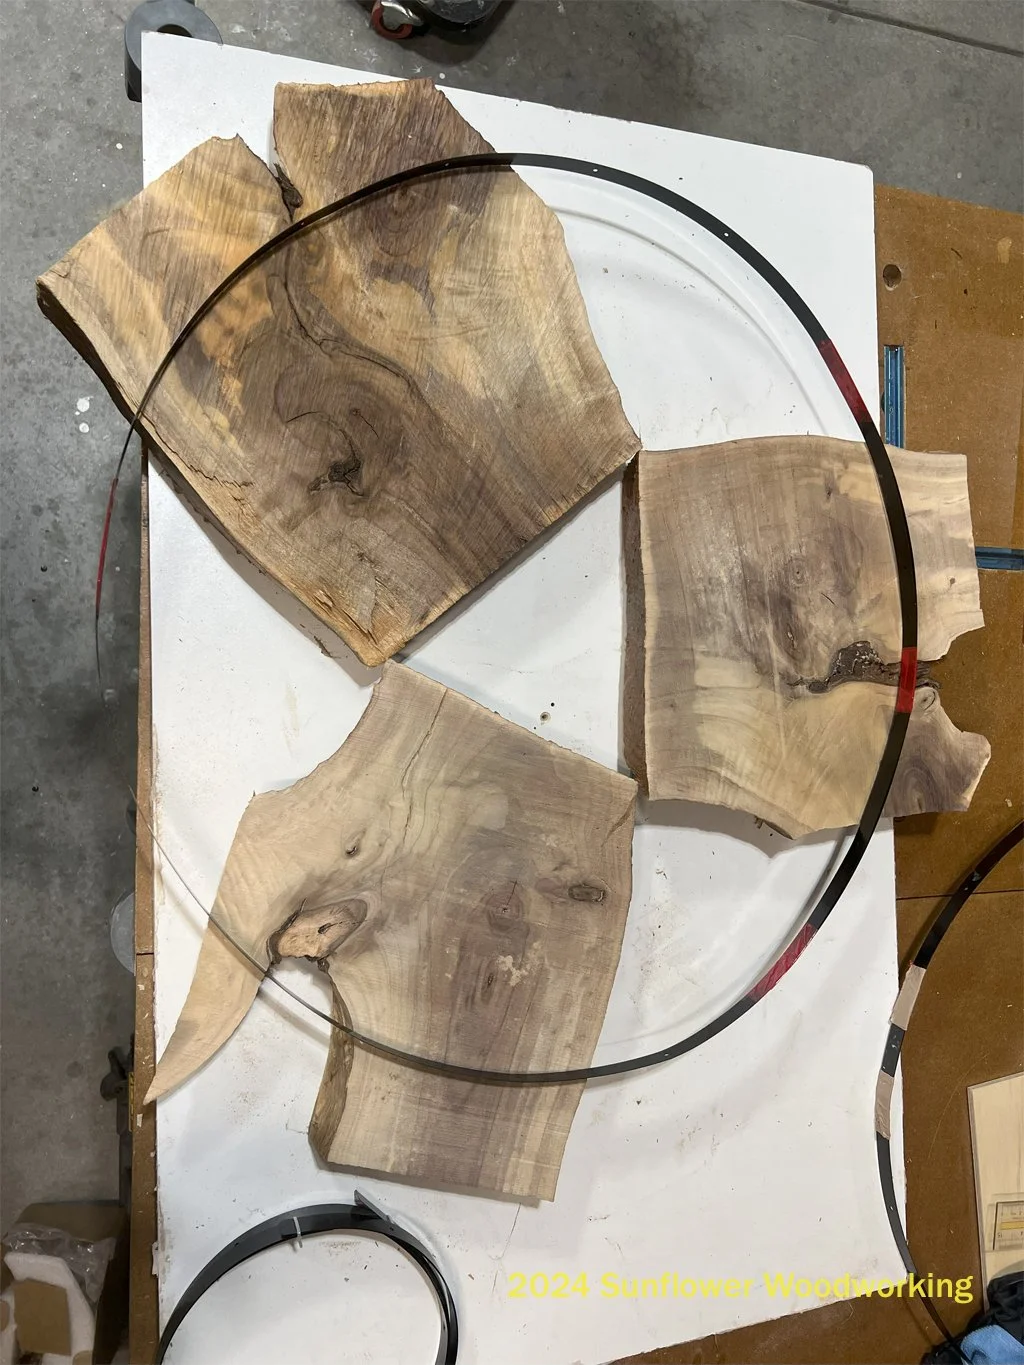
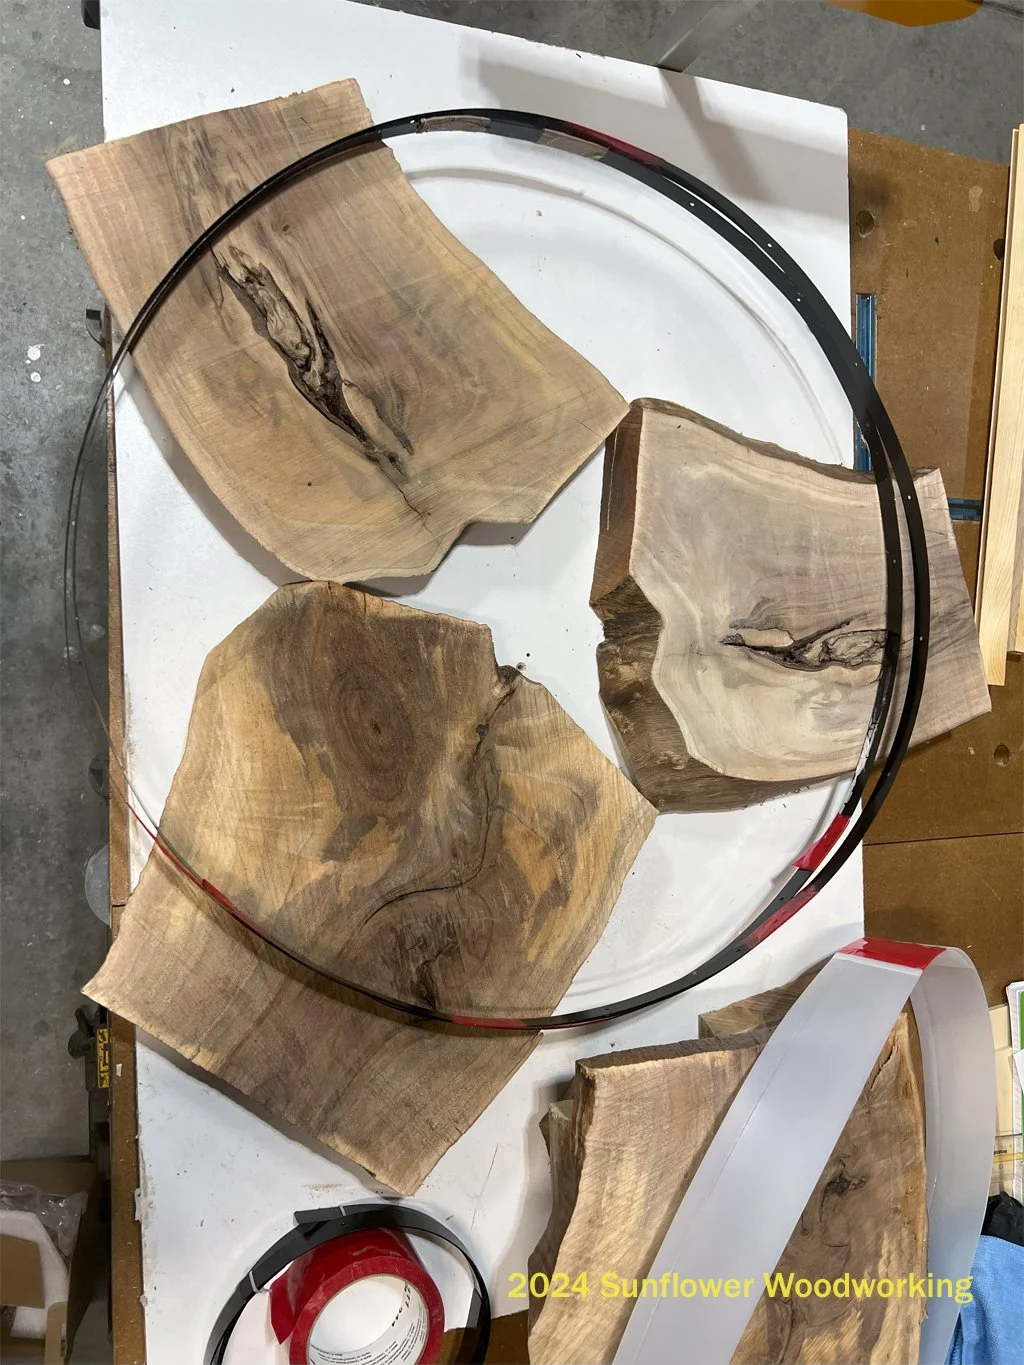
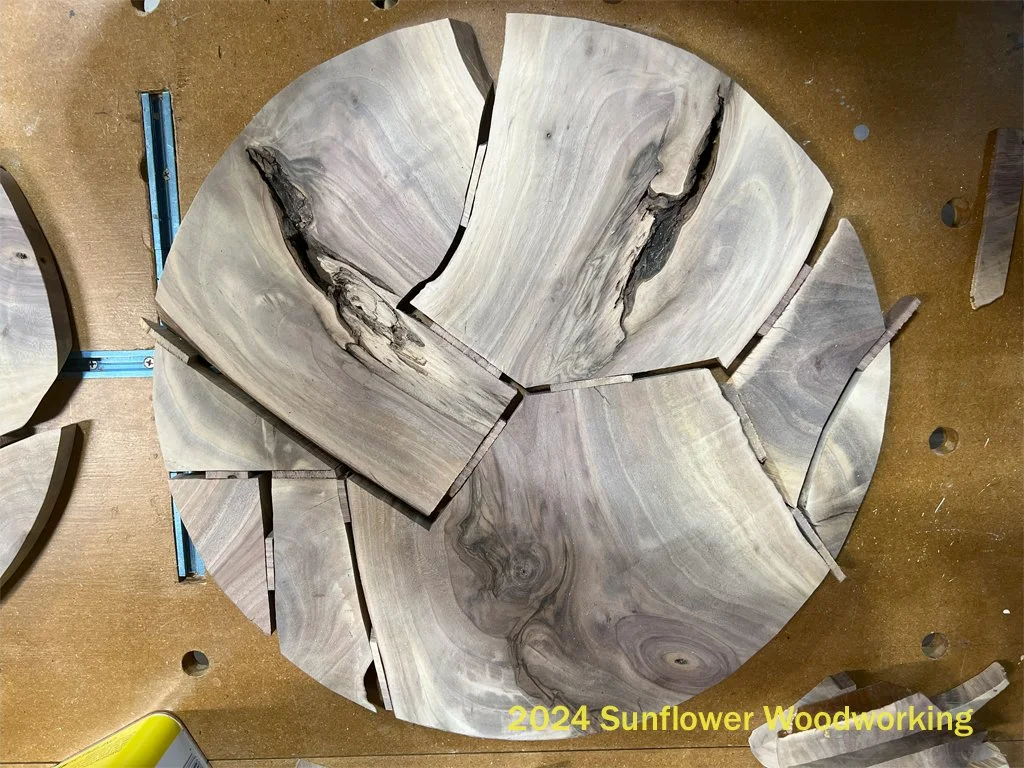
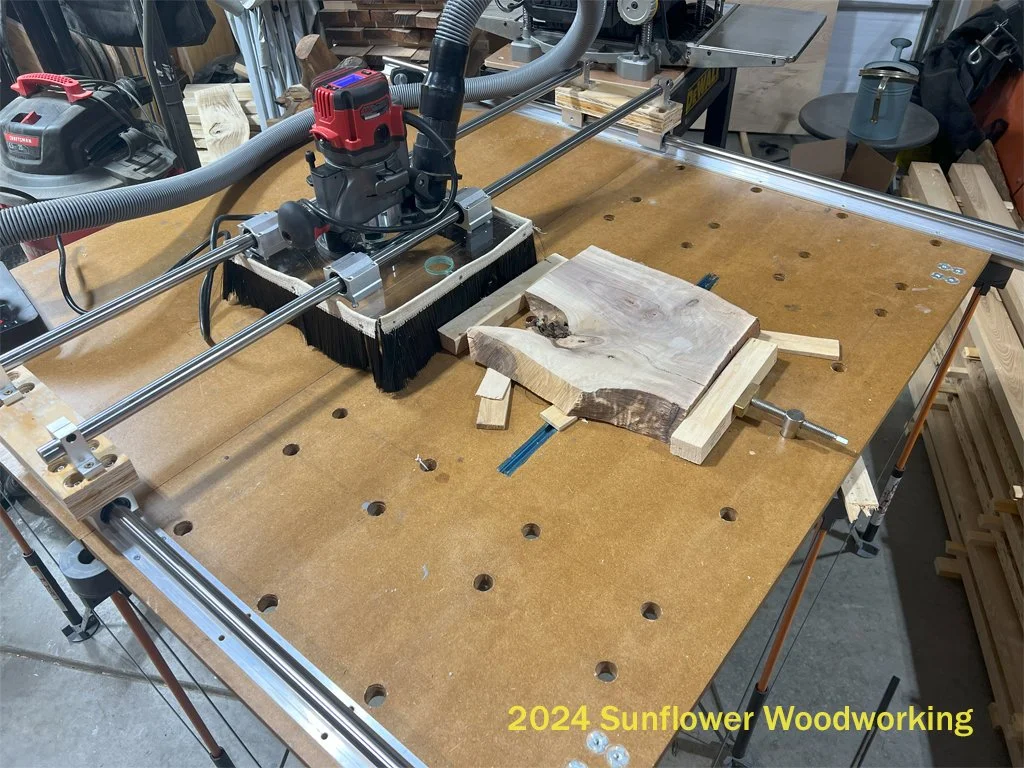
These two tables’ tops were made from what we originally figured to be scraps from milling some Black Walnut logs. Because the pieces were still sizeable, we didn’t want to throw them into the burn pile. So we put them in the kiln with everything else in hopes that someday we would find a use for them. Well? That day came! We milled the chunks into flat pieces and then used the natural shapes to guide a sort of jigsaw puzzle of pieces. With the help of our trusty bandsaw, and some scrap metal straps, we were able to form two round table tops!
As we milled the wood, we discovered so many beautiful features of this wood. The grain featured some curly areas that really gave depth and life to the top, especially when we put the finish on it. We used Rubio Monocoat to get the grain to really stand out, and then added a couple of coats of ceramics to help protect it from the gaggle of people who will use these.
What did we learn?
The very first thing were a couple of reminders of one, God’s ability to stitch the finest beauty into all his creation and two, that what man means to be trash is intended by Him to be treasure. Since this project, our standards for what we consider “scrap” has dramatically changed. We now have a new classification of “Purpose not yet Discovered.”
We also learned more about letting the wood inform the design. We knew we wanted “round” tables, but didn’t know how we were going to get these misshapen pieces to help us achieve the goal. When we laid out the raw, milled parts, the wood began to speak and guide us.
We also did a non-traditional base. With how the tops came together, a typical straight set of three or four legs felt like an insult to the top. So we designed this ring base with two straight legs to do the job. To some, it may look like these tables would be unstable, but they are more firm than other designs we’ve done in the past.
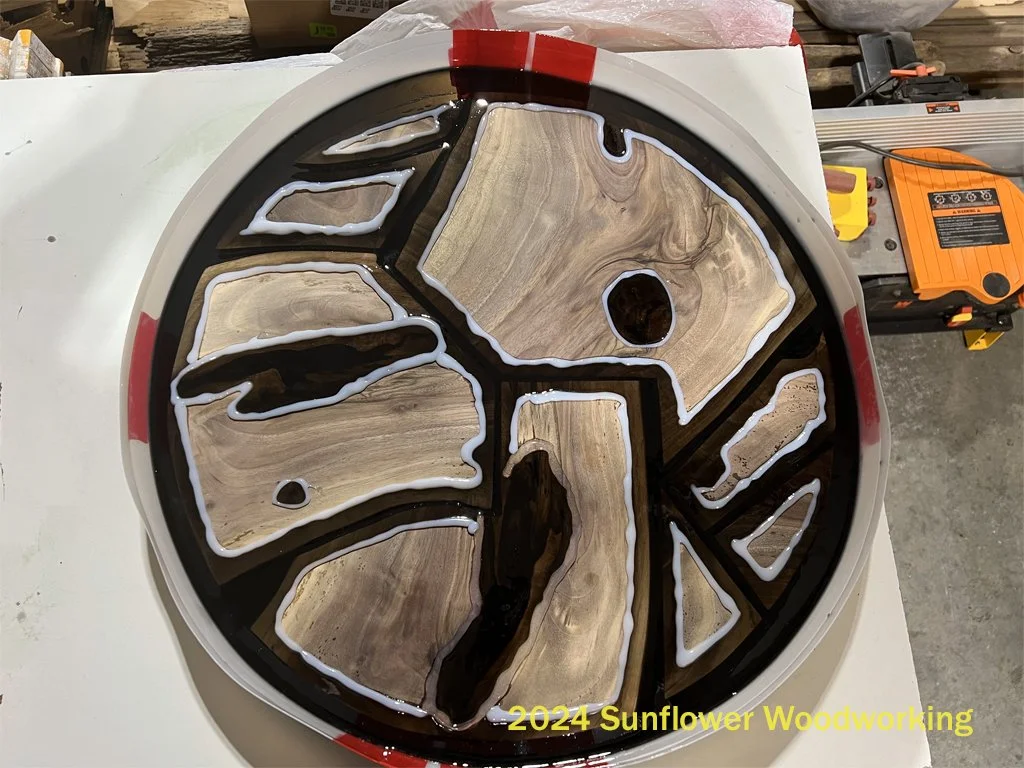
This was also our first project with having epoxy inserted in-between pieces of wood. We used hot glue to hold the pieces in the mold, which seemed like a good idea. However, it failed on several parts hours after we poured. Since then, we use either pure silicone caulk on the bottoms or weights on the top. We also don’t use hot glue to dam the epoxy on the top. We use either silicone or just immerse the whole piece in epoxy and mill off the excess.
Another learning is how to sand a top that has both wood and epoxy. You have to take care of how much you’re sanding over each as the epoxy wears away faster than a hardwood like Black Walnut, especially with more coarse grits.
In Closing…
This was a welcome challenge. It was one of those projects that really let the creative juices flow. The reminder of how amazing God’s creations are, and the abilities He gives us to shape those creations made this more of a spiritual journey than a woodworking one. We have a small stack of odd-shaped pieces from milling and we look forward to seeing where those take us!

